- Report an Incident
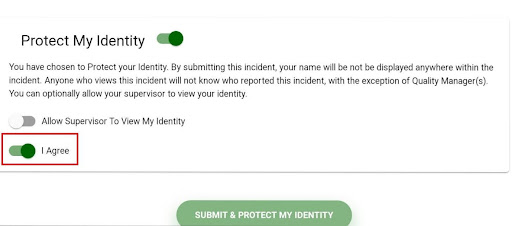
- Protect my Identity
- Check Status of an Incident
- Notify other staff about an incident
- Save as Draft
- Cancel editing an incident
- Incident status equals Pending Details
- Discussions
- Upload Attachments
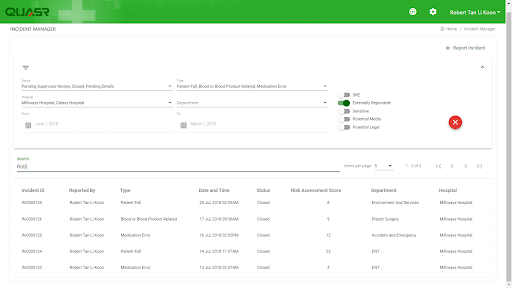
- Filters and Search
- Manage Flags
- Print Incident report
- Reject an Incident
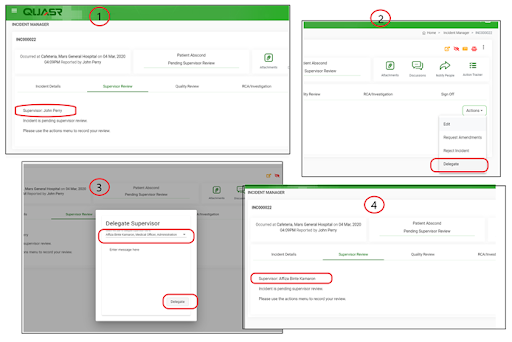
- Delegate Supervisor
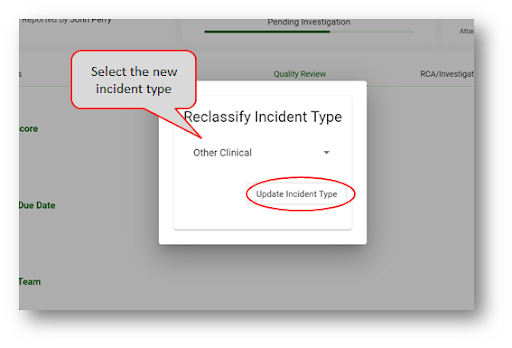
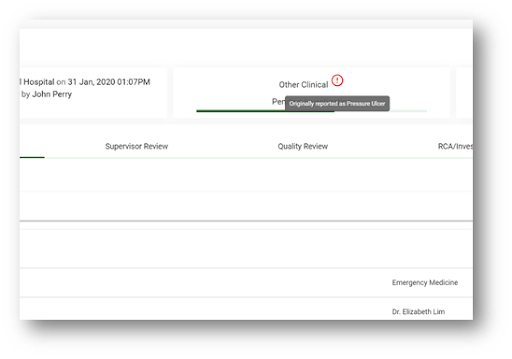
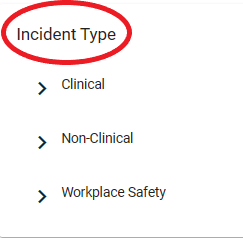
- Reclassify Incident Type

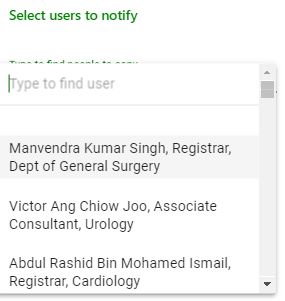
A user can notify one or more persons about an Incident to which he has an access. The notified person then has access to that Incident.
To notify people:
Open the Incident record and click 
Select users who has to be notified from the user list and click ‘+’ button
Staff who are notified will be able to view the incident and can comment on discussions
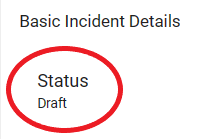
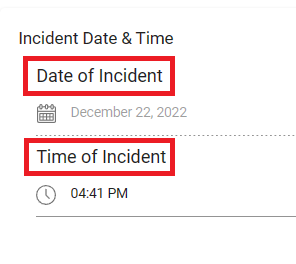
When Status equals Pending Details, it means that the Incident has been reported but details about the incident are yet to be submitted.
It can be updated by the reporting staff.
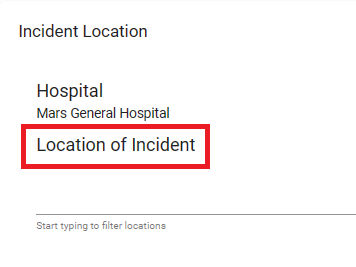
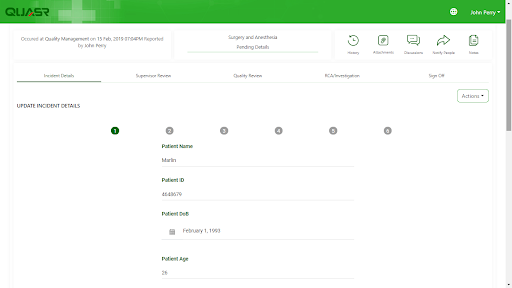
Go to Incident Manager and click the specific Incident to open it.
In the “Incident Details” tab, click on the Actions button and
click “Edit” 
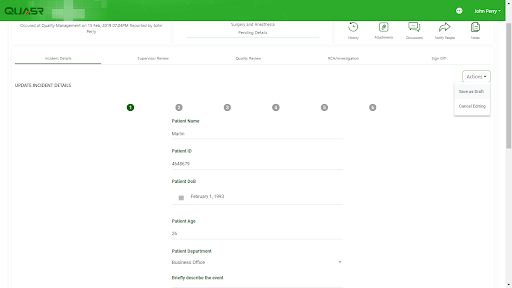
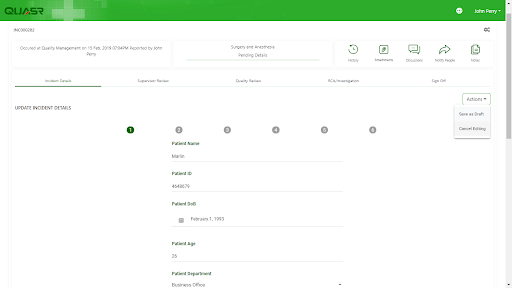
Enter the incident details under ‘Update Incident Details’
Depending on the type of Incident, the number of steps involved in submitting the incident details varies.
At any point in time, you can Save as draft and resume later.
Update Incident Details Screen
Discussions is a platform for collaboration. Discussions within an incident are private to all stakeholders of that incident.
Anyone who has access to an Incident can post a comment or reply to a comment and participate in the discussion.
Open the Incident
Click on the Discussion icon in the top right corner of the page. 
Type the comments and click ![]()
You can also reply to other comments or reply to replies.
Files of all types can be attached to an Incident.
To add a file:
Open the Incident to which the file has to be uploaded and click  in the top right corner of the page.
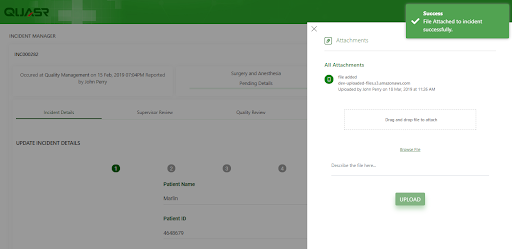
The file can be uploaded by drag & drop option or by browsing from the local files.
Enter a short description of the file to be added and click 
File uploaded screen
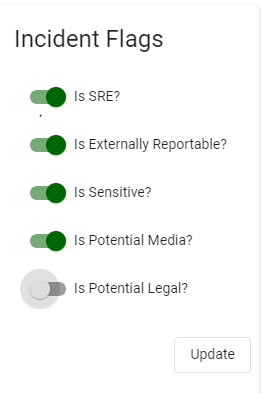
Only Quality Managers have the access to manage flags for an Incident. When flags are set or unset, relevant stakeholders will be notified. The list of staff will be notified for this action and can be managed in email groups.
Various flags can be set by clicking on

and selecting the toggle button against the flag.
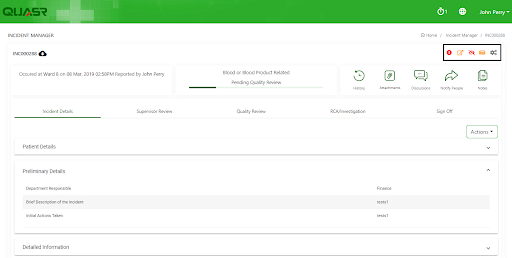
Open an Incident with Incident details. In the incident header, next to the Incident number click ![]() to download the Incident report and print.
to download the Incident report and print.
Note : Only those who have been assigned the permissions to download the report will see this icon.